
How To Make Homemade Beef Broth
Have you ever wondered what to do with leftover beef bones or those vegetables that are about to wilt in the crisper? You can turn those ingredients into homemade beef broth. No need for fancy kitchen gadgets—just a pot, some basic ingredients, and a little time.

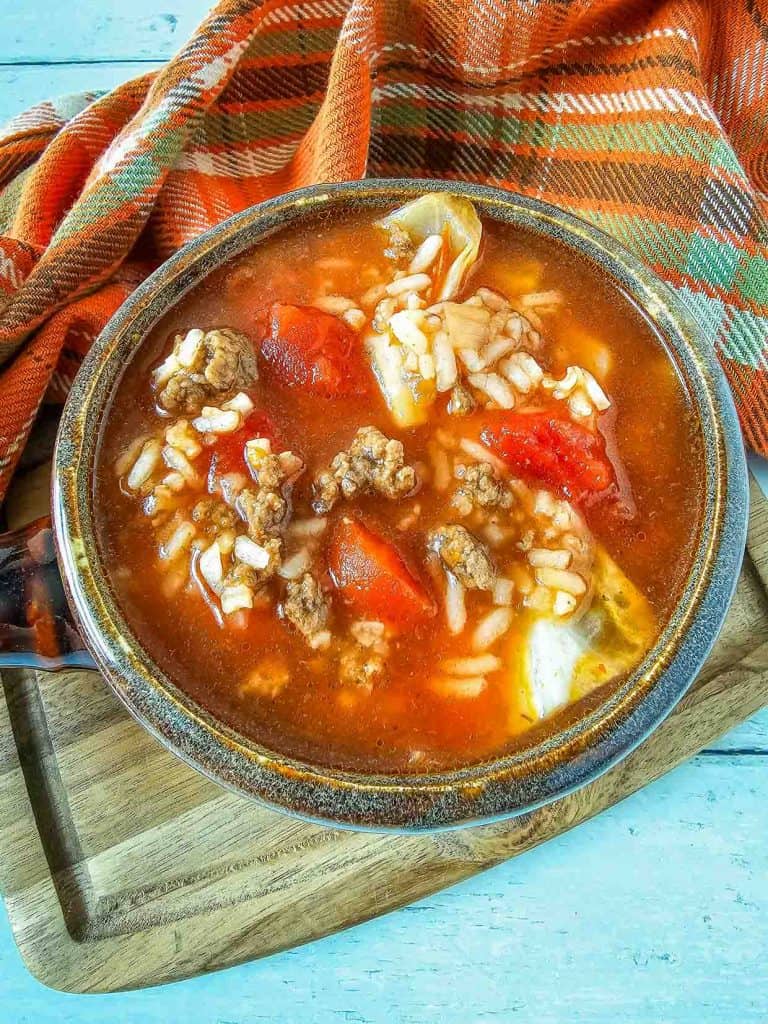
A pot of simmering beef broth fills your kitchen with a rich aroma perfect for almost anything. Whether you want to make a quick sauce, enhance the flavor of rice, or use it as a base for a hearty soup, the possibilities are endless. It’s a kitchen essential that’s versatile, fuss-free, and guaranteed to boost your confidence in the kitchen.
The beef stock vs. beef broth debate
Beef stock and beef broth are often used interchangeably, but they serve slightly different purposes. Beef stock is made by simmering bones, vegetables, and aromatics for several hours, resulting in deep flavors and rich collagen from the bones. It’s the go-to for heartier dishes that need a full-bodied flavor.
Beef broth, on the other hand, is made by simmering meat and vegetables for a shorter time, giving it a lighter flavor perfect for soups and dishes where you want a more delicate touch. The shorter cook time makes it perfect for home cooks who are short on time.
The benefits of homemade beef broth
Using homemade beef stock in your cooking brings an extra layer of flavor to your dishes. Here are a few benefits:
- Nutrient-rich: Packed with nutrients from simmering bones and vegetables, it’s a wholesome addition to any meal.
- Collagen boost: The slow cooking process extracts collagen from the bones, adding richness.
- Flavor control: Homemade stock or broth allows you to adjust the seasoning to fit your taste preferences.
- Superior taste: Compared to store-bought options, homemade stock provides a depth of flavor that elevates your dishes to a new level.

Basic ingredients and tools needed
Gathering the right ingredients and equipment is the first step to making delicious homemade beef stock. Here’s what you’ll need:
- Beef bones: Use leftover bones from roasts or steaks, or even buy bones specifically for stock. Beef shank bones work well, too.
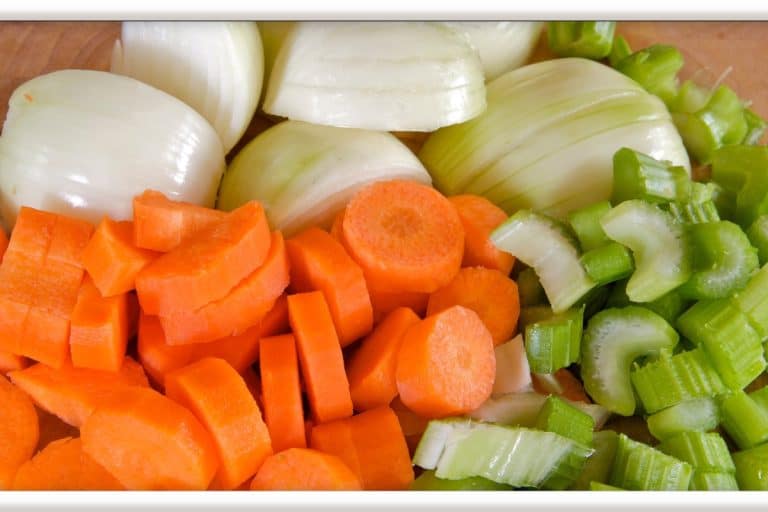
- Vegetables: Onions, carrots, and celery are staples for flavor.
- Aromatics: Garlic, herbs, and spices such as peppercorns and bay leaves.
- Water: Make sure to cover the ingredients completely.
- Coffee: Leftover Coffee, Espresso Powder, or Instant Coffee. This brings out umami flavor but it is optional.
- Stockpot or slow cooker: Use a large pot or slow cooker to hold all the ingredients.
- Strainer: Necessary for separating out the solids.

Best Bones for Beef Broth or Stock
You can buy a cut of beef with bones to make this broth. Some of the best are:
- big meaty bones the butcher might throw away, if you’re lucky enough to have a local butcher
- shin bones
- oxtails
- knuckle bones
- neck bones
- save your beef bones from a rib roast or any roast with bones
Mix It Up
You can change the flavors up to suit you. Add bay leaves, peppercorns, onions, garlic and more to this broth. I personally like to add coffee to my beef recipes, it really brings out the umami flavor.
Speaking of umami, try adding mushrooms OR powdered mushrooms for a deeply umami flavor to your broth.
Best Homemade Beef Broth
Equipment
- Sheet Pan if roasting in the oven first you will need this
- Dutch oven
Ingredients
- 2-3 pounds beef bones shank, oxtail, or marrow bones work well
- 1 large onion quartered
- 2-3 carrots chopped
- 2-3 celery stalks chopped
- 4-5 garlic cloves peeled
- 2-3 bay leaves
- 1 tablespoon whole black peppercorns
- 3 sprigs fresh thyme optional
- 10 cups water
- 1 tsp salt salt to taste
Instructions
- Preheat the oven to 400°F
- Spread the beef bones on a baking sheet and roast for 30-40 minutes, turning halfway through, until the bones are browned
- After the bones are done roast add them and remaining ingredients except the salt to a pot
- Pour in enough water to cover the bones and vegetables
- Bring the pot to a boil over medium-high heat, then reduce to a gentle simmer
- Skim off any foam or impurities that rise to the surface in the first hour of cooking
- Let the broth simmer for 2-3 hours, adding more water as it cooks off
- Taste and add salt about halfway through cooking
- When done cool enough to work with it and then remove as many of the solids you can, use or toss a desired
- Strain the broth through a fine mesh strainer to remove any remaining solids
- Cool completely if storing, keep in the fridge for 5 days or the freezer for 2-3 months
- If using immediately no need to cool


3 Comments