
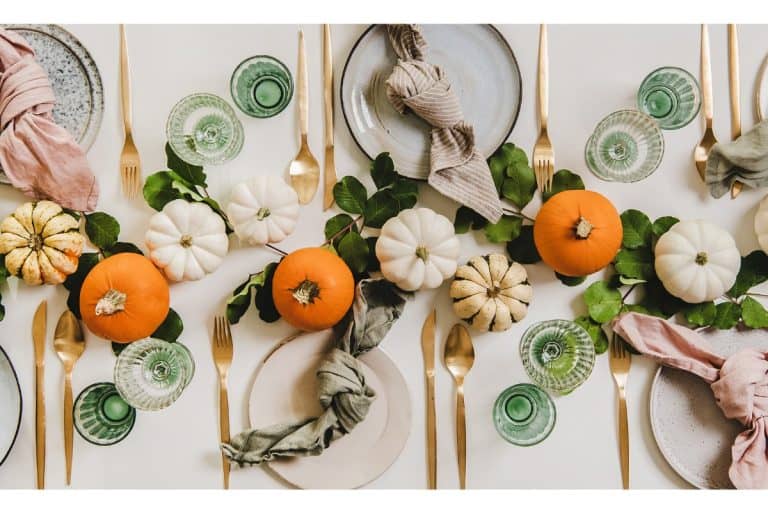
Simmer Pot Jars
DIY Simmer Pot Jars are a thoughtful and fragrant gift that’s perfect for the holiday season or any time of year. Make these at home and wow your friends this year!

These jars contain all the ingredients needed to create a homemade simmer pot, filling a home with warm, inviting scents. Think of simmer pots as liquid potpourri! They’re easy to make, customizable, and a wonderful way to share a bit of homemade comfort with friends and loved ones.
Or just make them for yourself! If they’re great for friends they’re great for you.
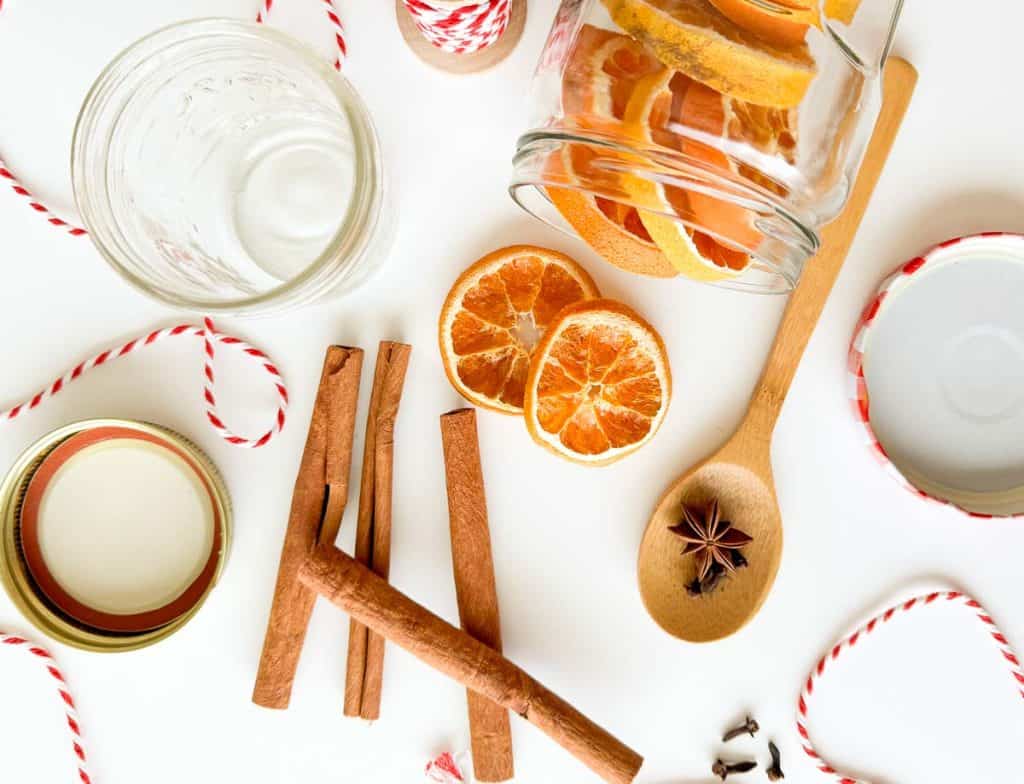
You can add any of a clean recycled jar or a mason jar. Fill it with a mix of dried or fresh ingredients that release aromatic scents when simmered in water.

What you can add to your Simmer Pot Jars
My favorite additions are dried orange slices and cinnamon sticks but here’s a list of other amazing things we love to add to the jars:
- dried apple slices OR apple peels
- grated nutmeg
- dried ginger
- cardamom pods
- star anise
- spruce or pine twigs from the forest NOT a store-bought wreath or tree
- dried lemon slices
- dried lime slices
- grated cinnamon
- older dried vanilla beans, you only need a little piece in each jar
- lavender
- rose petals

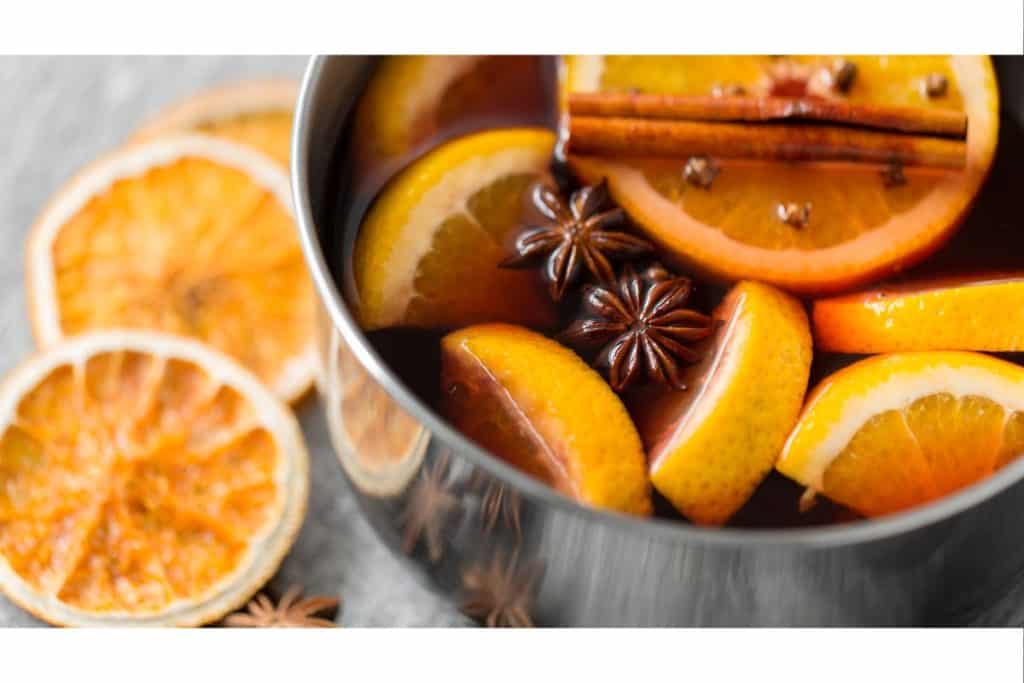
To Use A Simmer Pot Jar
Simply pour the contents into a pot, add water, and let it simmer on low heat. Within minutes, the room will be filled with the cozy aroma of the chosen ingredients.
To Dry Oranges Or Lemons
Wash your oranges and lemons well and dry them thoroughly. Slice them into thin rounds, about 1/8 to 1/4 inch thick. Thinner slices dry faster and more evenly, and they also look better in simmer pots. Try to keep them uniform so they all finish at the same time.
Lay the slices on a clean kitchen towel or paper towels and blot up the juice. This step helps speed the drying process in the oven and prevents soggy or uneven spots.
To dry in the oven: Line a baking sheet with parchment to keep the citrus from sticking. Place the slices in a single layer with a little space between each one. Overlapping will cause them to steam instead of dry.
Set your oven to 170–200 degrees. Low heat prevents browning and keeps the citrus looking bright. Dry the slices for 3 to 4 hours, flipping them every 45–60 minutes. They’re done when they feel dry to the touch and no longer feel sticky in the center.
To dry in the food dehydrator: Place the slices in a single layer on the trays, leaving space for air to circulate. Citrus doesn’t need any pre-treatment, just lay them out and go.
Most dehydrators work well at 125–135 degrees for citrus. The lower temperature helps preserve color and prevents browning. Citrus slices usually take 6–10 hours in a dehydrator, depending on thickness, humidity, and how many trays you’re drying at once. Start checking around the 6-hour mark. Flip them halfway if your dehydrator doesn’t circulate air evenly.
No matter which method you use be sure to let the dried cool off completely. Then store them in an air tight container. If you don’t dry or cool them completely they can mold in a container.
Other Practical Gift Ideas
When you want to give a gift but you don’t want to give something that the recipient HAS to keep forever or god forbid, DUST, these jars are a great idea!
Here are a few more great ideas for practical gifts we love to give AND receive.
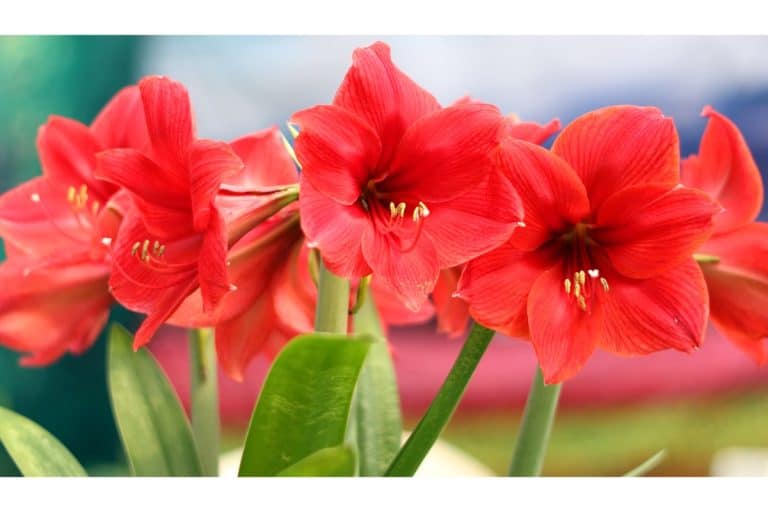
- Amaryllis Bulb OR Plant OR plant kit
- a bottle of wine or homebrew
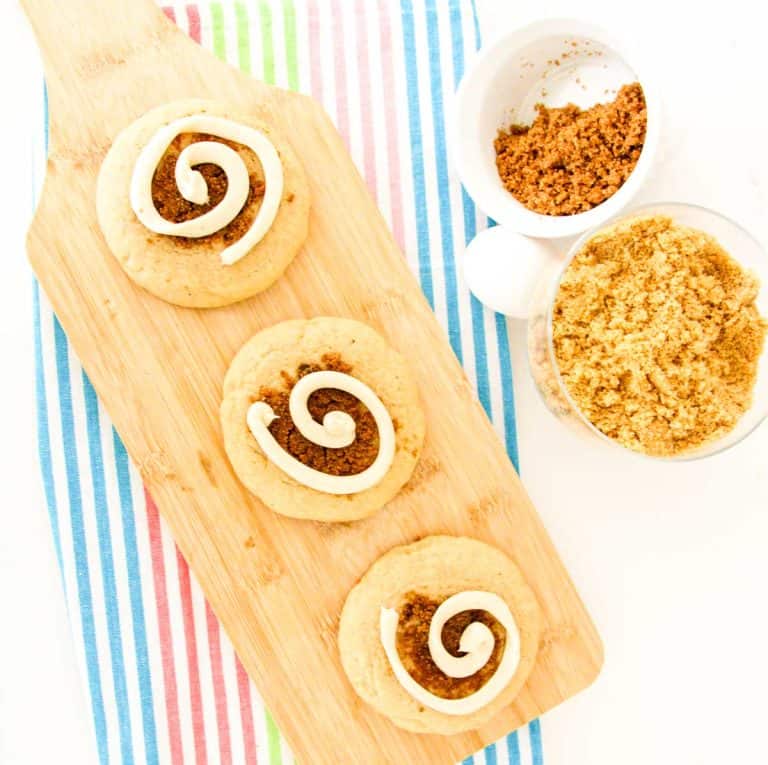
- home-baked bread with the recipe included such as this cranberry orange loaf or this quick dutch oven bread


Simmer Pot Jars
Materials
- 2 Half Pint Jars with lids
- Baker's String or Raffia
- dried citrus slices can be lemon, orange, or limes
- spices cinnamon sticks, star anise, cloves, or
- dried herbs rosemary, lavender, lemon balm
- tags for name and directions for use
Instructions
- wash and dry jars and lids
- add citrus slices to the jar
- add herbs and/or spices
- add the lid
- tie off with raffia or bakers string
- add a tag with these directions on it: Add contents of the jar with a quart of water in a heavy bottom pan. Heat until it's fragrant, add more water as needed


Perhaps I missed it, but I don’t see any instructions on how to dry the fruit slices you’ve included in your ingredients list, nor any links to show us how that may be accomplished- are they a specialized purchased item?
Hi Stacey! I just updated the post to include easy drying directions!