
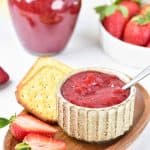
No-Pectin Easy Strawberry Jam


This small-batch strawberry jam skips the pectin, which means it uses less sugar and lets the flavor of the berries shine. It’s simple to make, perfect for spring and early summer, and just the right size for a couple of weeks in the fridge.

No added pectin means fewer ingredients and a softer set, but also a fresher, more fruit-forward flavor. You’ll taste strawberries, not just sugar.
Ingredients
- fresh strawberries
- granulated sugar
- lemon juice
What You Need to Make This Recipe
A large saucepan or pot, a spoon for stirring, and a jar for storing. You don’t need canning supplies since this version is meant to be refrigerated and used up within a couple of weeks. It’s a great option for first-time jam makers.

Using The Gel Method
The old-fashioned way to make jam or jelly was to cook it down and use the gel method to see if the jam is thick enough to hold up.
The gel method is a simple way to test if your jam or jelly has thickened properly—no pectin required. To use this method, place a small saucer or a couple of metal spoons in the freezer before you start cooking your jam. When you think it might be ready, drop a small spoonful of the hot mixture onto the cold saucer or spoon and let it sit for about 30 seconds. Push your finger through the jam—if it wrinkles slightly and holds its shape, it’s done. If it stays runny, let it cook a little longer and test again. It’s an easy way to check doneness without relying on a thermometer.

Exactly HOW To Use The Gel Method
Here’s the exact way to use the Gel Method for making Jam. This is the old fashioned way that jam was made. Adding
- Before you start cooking: Place a small saucer or 2 metal spoons in the freezer. Let them chill while your jam or jelly cooks.
- When you think the jam is ready: Take one of the cold spoons or the saucer from the freezer.
- Get a scoop of hot jam: Drop a small spoonful of hot jam onto the cold surface. Let it sit for about 30 seconds so it cools quickly.
- Run your finger through the cooled jam: If it wrinkles and holds the line without running back together, it’s thick enough to set.
- If it’s still runny: Return the jam to the heat and cook for a few more minutes. Then, test again with a fresh, cold spoon and a different spot on the saucer.
- Repeat as needed: Repeat until you get that soft wrinkle and the jam that doesn’t run back together. That’s your sign it’s ready!
Store Leftovers
Store this jam in a clean jar in the refrigerator. It’s not shelf-stable, so skip the pantry unless you plan to can it properly. If you want to preserve it for later, use the water bath canning method.
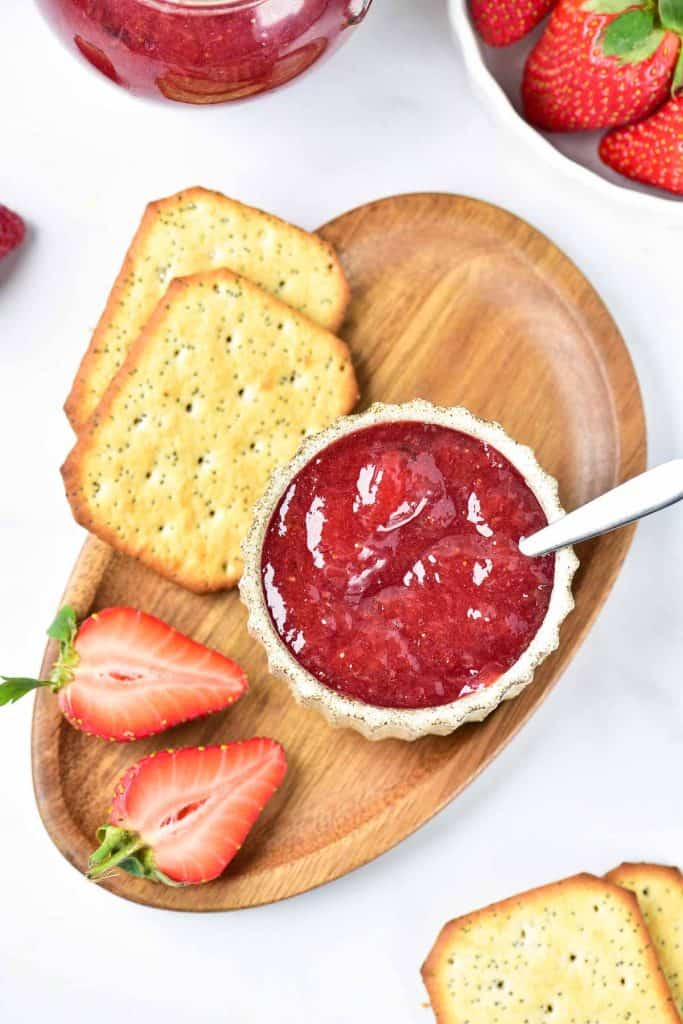
Strawberry Jam
Ingredients
- 2 lbs strawberries
- 1 ¼ cups sugar
- 2 tbsp lemon juice
Instructions
- Put a saucer and several spoons in the freezer
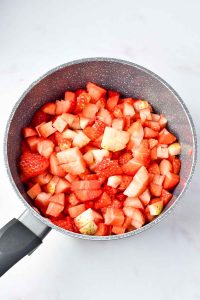
- Wash the strawberries thoroughly and dry them with a clean towel
- Remove the stems and chop the strawberries into small pieces
- Add the chopped strawberries to a large saucepan or pot
- Add the sugar and lemon juice to the saucepan
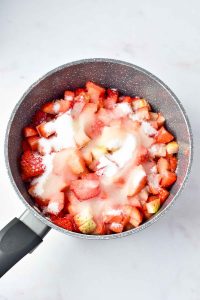
- Stir gently to combine the ingredients
- Set the pan over low heat and bring the mixture to a gentle simmer
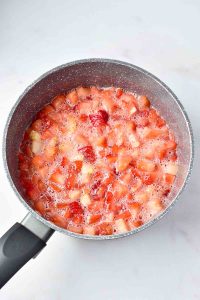
- Stir occasionally during the first 5 minutes to help dissolve the sugar
- Once the sugar is dissolved continue to cook on low heat, stirring occasionally
- after 20 minutes or so it's time for the Gel Test– take a scoop of jam on a cold spoon and drop it on the saucer
- Let it rest 30 seconds and then run your finger through it, if the line stays separated the jam is done, if it runs back together it needs more time, repeat the gel test as needed
- Once the jam is done remove it from the heat, and place it in the clean jar
- You can store the jam in the fridge for a week or two
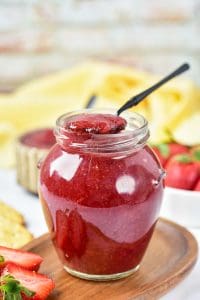
- For longer storage follow the directions for hot water bath canning, link is in the notes


3 Comments