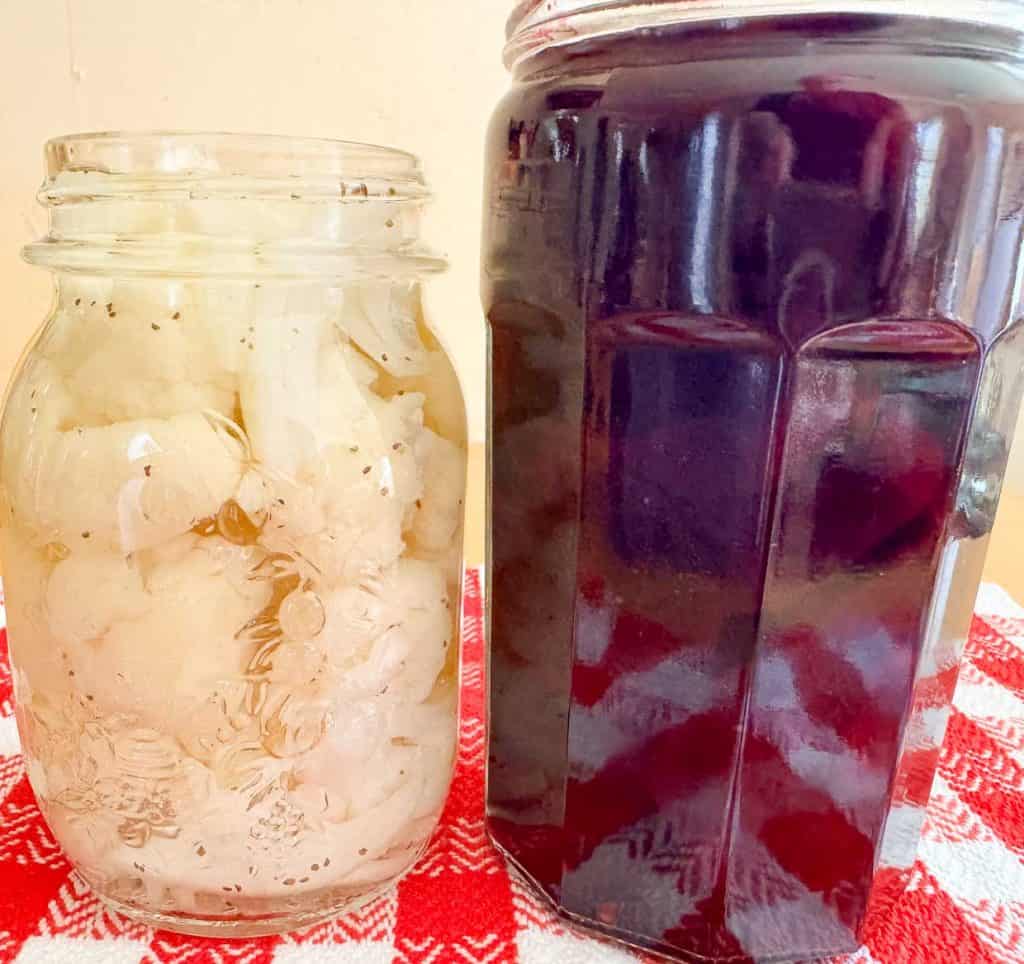
Quick Pickling 101
Learn the basics of quick pickling and walk through the steps of quick pickling your favorite fruits and vegetables. You won’t believe how easy quick pickles are and how many ways you can enjoy them!
Traditional Pickling vs. Quick Pickling
Traditional pickling and quick pickling are two methods of preserving food using vinegar, salt, and other flavoring ingredients. The main difference between them is the time required for the pickling process.
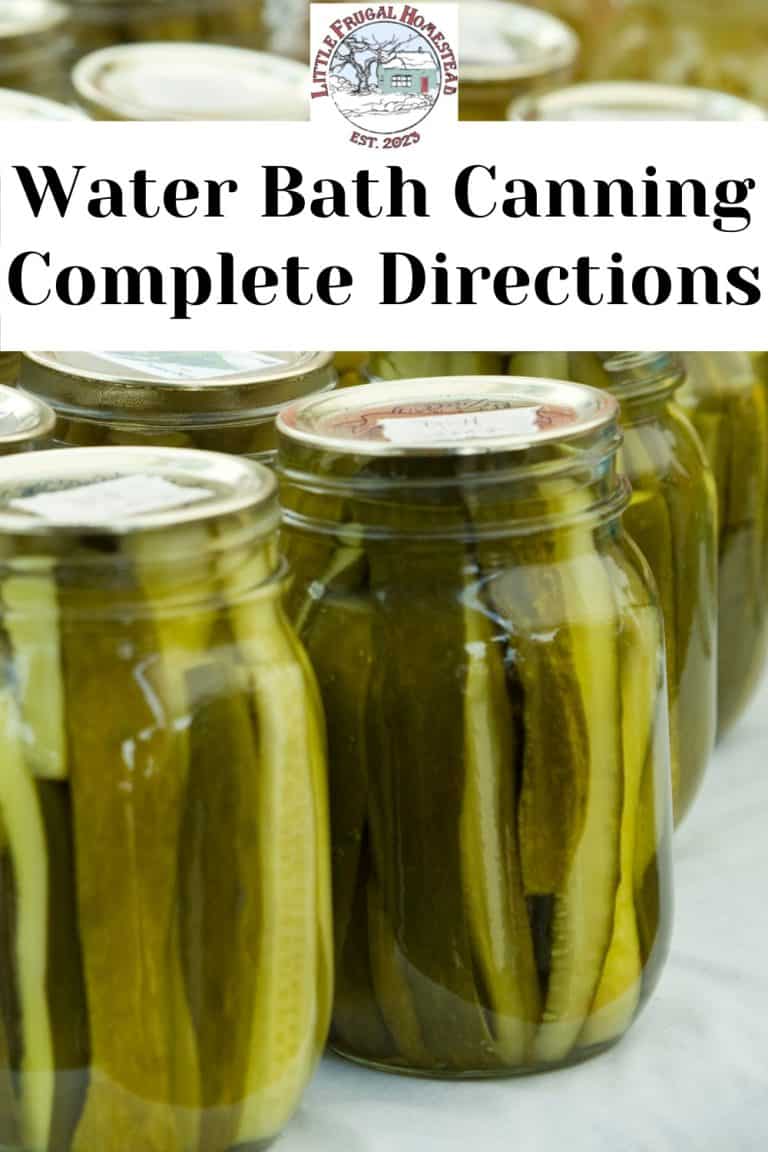
Traditional pickling is a longer process that involves immersing food in sterilized glass jars with a brine solution of vinegar, water, salt, and spices then using the water-bath method to can the ingredients. Traditionally pickled foods have a very long shelf life — they can last for years.
Quick pickling is a faster process that involves bringing the pickling solution to a boil and then pouring it over the food. The food is then allowed to sit in the solution for a shorter period of time, from as little as 30 minutes to as long as overnight, before eating.
Quick pickled foods tend to be fresher with a crunchier texture and more mild flavor compared to traditional pickling.
How To Quick Pickle Anything
Refrigerator pickles are probably the most popular food to make with the quick pickle method but almost any fruit or vegetable can be used.
Preparing the Fruits and Vegetables
Quick pickling is best done with very fresh vegetables or fruit. Vegetables that are past their prime or have been sitting in the fridge for too long may not hold up well during the pickling process. Leave bruised produce for recipes where it’s not the main focus such as slow cooker meals or baked desserts.
The fruit or vegetable can be prepared in a variety of ways:
- Left whole: Pearl onions, berries, green beans
- Sliced: Carrots, zucchini, onions, peppers, radishes, melon
- Spears: Cucumber, pineapple, asparagus
The more surface area exposed to the brining solution, the quicker the fruit or vegetable will take on the desired tangy flavor. Thinly sliced pickled shallots will be ready for use much sooner than pickled asparagus stalks or green beans.
Brining Basics
There is no special equipment needed for quick pickling, but you will need the following to make a basic brining solution:
- Boiling water
- Vinegar
- Salt
- Sugar
Outside of these ingredients, other flavoring ingredients can be added such as:
- Garlic cloves
- Whole peppercorns
- Bay leaves
- Fresh or dried herbs
- Whole spices such as a cinnamon stick or whole cloves

An easy rule of thumb to remember is equal parts water to vinegar when making a quick pickle brine. Salt and sugar can be adjusted to taste.
While white vinegar is the most common, but almost any basic vinegar can workincluding apple cider vinegar, rice vinegar, red wine vinegar, and white wine vinegar. It’s best to avoid using aged types of vinegars such as balsamic. The acidity can be too weak, the viscosity too thick, and their malted flavor can impact the final outcome of the pickled fruit or vegetable.

Assembly
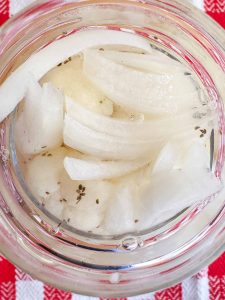
Pack the prepared fruit or vegetables tightly into a glass jar along with any chosen flavoring agents. Leave a half-inch space between the rim of the jar and the top of the produce.
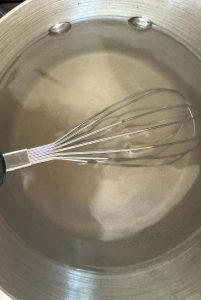
Place the vinegar, sugar, salt, and boiling water into a bowl or measuring cup and whisk until the salt and sugar completely dissolve. Pour the brine into the jar until just covering the fruit or vegetables.
You will have brine leftover due to how you cut the vegetables, jar size and so on. SAVE THE EXTRA BRINE, we’re going to use to make something special!
Screw on the lids of the jars and let sit until cooled to room temperature. Transfer to the refrigerator to chill and store.
A 24 to 48 hour incubation time will provide the best tangy pickled flavor but this can be adjusted based on needs and taste preferences.
“Whenever a dish needs a pop of flavor or color, quick pickled veg save the day! The acidity in the pickle balances sweetness and richness and can transform a ho-hum dish into an amazing one!” — Jennifer Allen, Cook What You Love

How To Use Quick Pickled Fruits and Vegetables
The possibilities are endless when it comes to using pickled vegetables and fruits. They’re so versatile you’ll love them everywhere!
- The tangy flavor and crunchy texture of pickled vegetables can add an extra layer of taste and texture to your sandwich. Any pickled element can be the perfect burst of brightness to a savory sub. Pickled red onions are a classic addition but don’t be afraid to think outside the box too. Spicy pickled pineapple works wonderfully paired with a smoky BBQ pulled pork sandwich.
- TACOS! Yes! When creating a taco bar, it’s important to have lots of different choices that vary in texture and flavor. Pickled elements can add spice, sweetness, and crunch. Consider pickled jalapeños, radishes, and salas to provide a unique twist to your next taco Tuesday.
- As a simple side on your plate with dinner such as roast beef, you’ll be surprised how many things taste better with a quick pickled bite
- Add them to salads. Pickled vegetables like carrots, cucumbers, and red onions or fruits like berries, cherries, and lemon can provide a crunchy and tangy contrast to the leafy greens while also adding a pop of color to the dish. In addition, the acidic brine of the pickled ingredients can serve as a natural salad dressing, reducing the need for additional oil or vinegar.
- Charcuterie boards are filled with savory flavors from nuts, cheese, meats, and crackers. Pickled vegetables and fruits such as grapes, cherry tomatoes, pearl onions, and beets bring a welcome sour flavor that complements the richness of the cured meats and cheeses. For a festive holiday board, try adding pickled cranberries to the mix.
- Whether it’s a spicy Asian noodle dish or an Indian curry, a quick pickled element provides the perfect way to temper the heat.
“I love to use quick pickled veggies in spicy dishes. Their acidity balances the heat and gives them fresh, bright flavor. It’s an easy way to add complexity and make a dish really stand out.” — Robin Donovan, All Ways Delicious
Quick Pickle Brine
Equipment
- saucepan
- 2 pint jars with lids or use a quart jars this doesn't need to be canning jars, recycled jars work just great here
Ingredients
- 1 cup water
- 1 cup vinegar use apple cider, white vinegar, red wine
- 1 TBSP sugar
- 1 TBSP salt
Optional Additions
- minced garlic
- cloves
- cinnamon stick
- bay leaves
- fresh herbs
Vegetables or Fruit
- 2-3 cups vegetables or fruit, sliced as desired
Instructions
- wash the jars you plan to store the pickles in and make sure they are scrupulously clean
- have all produce prepped, clean and slice ads needed
- add the vegetables to two pint jars
- heat water and vinegar together just to a boil
- add sugar and salt and stir to dissolve

- turn off the heat
- pour the hot brine over the vegetables in the jars
- wipe the rim and cap the jars
- store in the refrigerator for at least 48 hours before serving

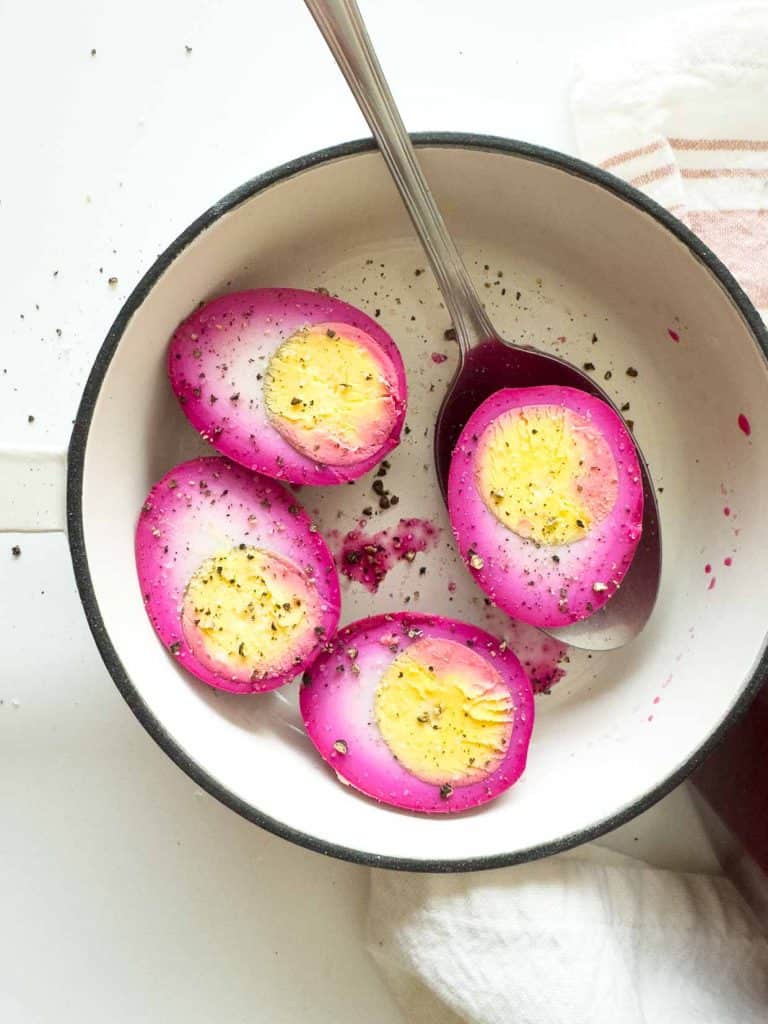
- Save any leftover brine for the best pickled eggs you will ever make!